
Creating tasks
Tasks are the to-do items on a case: things like “Draft written submissions”, “Call client”, or “Collect court fee receipt”. Every task belongs to a case, and you can create one either from the global Tasks page or from inside a case.
The Tasks page (/tasks) gathers tasks from every case into one list, so you can work through everything on your plate without opening each case. Inside a case, the Tasks tab shows only that case’s tasks.
Click Tasks in the sidebar. The page lists open tasks across all your cases, grouped by due date.
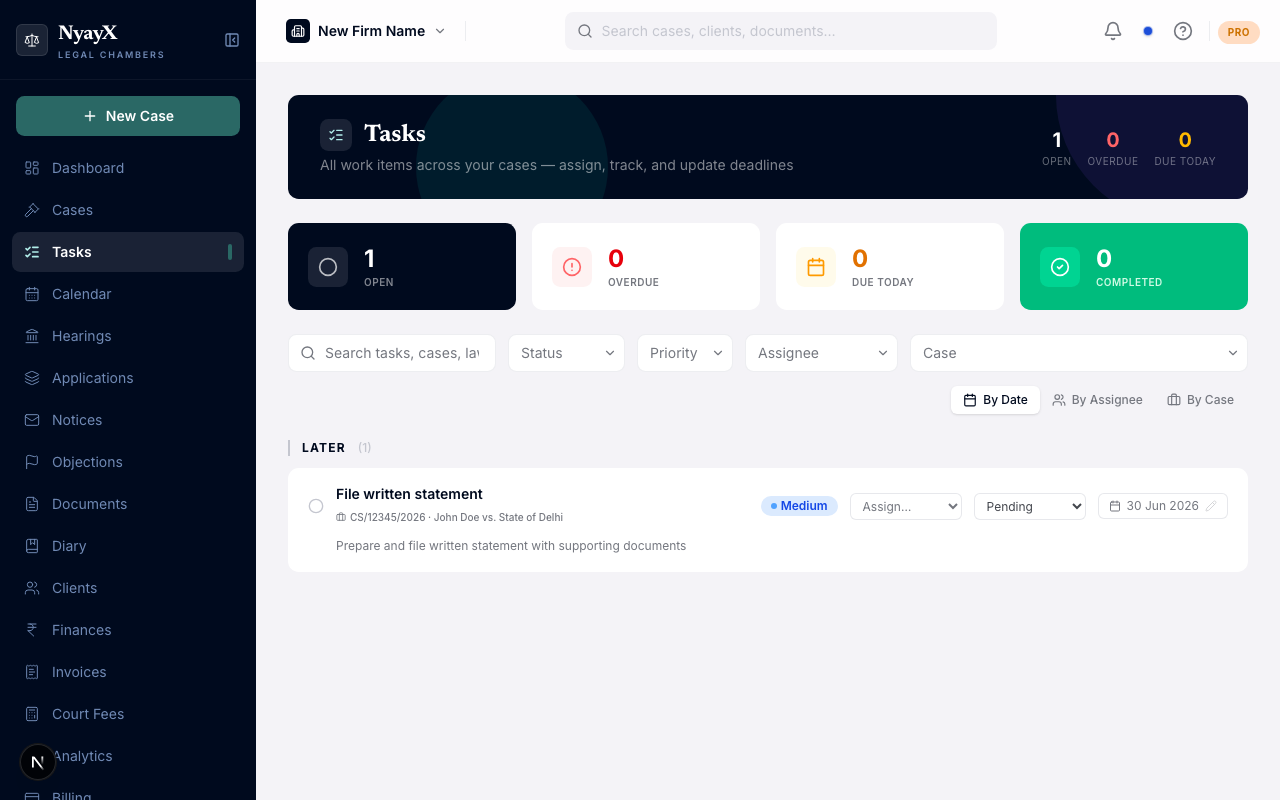
The Tasks page, with tasks from every case in one list
Click New Task in the top right. A form opens.
- Case (required): search for and pick the case this task belongs to. When you create a task from inside a case, this is already set to that case.
- Title (required): what needs to be done.
- Assignee: the workspace member responsible. Defaults to you.
- Due date: the day it is due. Reminders are sent as this date approaches (see Deadlines & reminders).
- Priority: Low, Medium, High, or Urgent.
- Description: extra notes. Available when you create the task from a case’s Tasks tab.
Click Create Task. The task appears in the Tasks page and in that case’s Tasks tab. If it has a due date, it also shows on the Calendar on that date as an orange task event.
Working with priority and status
Priority has four levels: Low, Medium, High, and Urgent. Use them to sort the urgent work to the top.
A task moves through four states: Pending, In progress, Completed, and Blocked. Click the status icon on a task row to cycle it, or set the status while editing the task.
Completing a task
Set a task’s status to Completed to close it. Completed tasks move into their own Completed group and stop appearing on the calendar; completing a task also cancels any pending reminders for it. Use the status filter pills at the top of the list to switch between Pending, In progress, Blocked, Completed, or All.