Add your first case
This guide walks you through creating a case, adding a hearing, and verifying everything is set up correctly.
Click Cases in the sidebar. On a fresh workspace you will see an empty list with a New Case button in the top right corner.
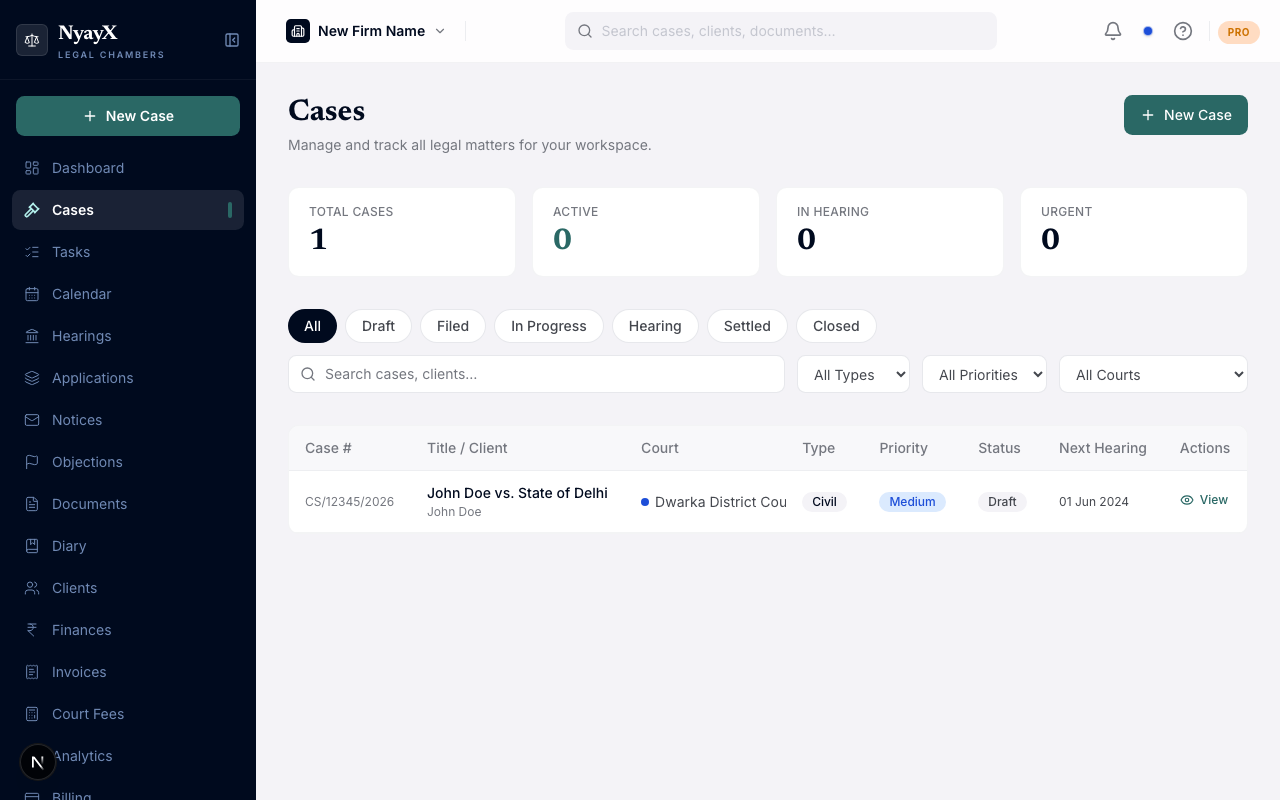
The Cases page — click New Case to begin
The Court dropdown has two groups:
- Integrated courts (Supreme Court of India, Delhi High Court, District Court, Tribunal, Consumer Forum) — NyayX fetches the case record from the court’s portal before saving. Save stays disabled until the lookup succeeds.
- Custom / manual heads — for arbitration, courts not yet integrated, or any matter where no online record exists. Select + Add custom court / head… and type a name.
For your first case, choose whichever court it is actually filed in.
For integrated courts: enter the case number fields (type, serial, year) and click the Fetch / Look Up button that appears. The form pre-fills parties, filing date, and next hearing date from the court’s records.
For custom heads: fill in Party A, Party B, Case Type (optional), and at least one of Filing Date or First Hearing Date. No lookup is required.
Enter the Client Name (start typing to pick an existing client or create a new one) and Client State. Then click Save Case in the sticky bar at the bottom.
You land on the Case Detail page, which has tabs for Overview, Hearings, Parties, Documents, Tasks, Legal Proceedings, Finances, and more.
On the Case Detail page, click the Hearings tab, then Add Hearing. Enter:
- Date — the hearing date
- Court — the court where the hearing is scheduled
- Purpose — e.g., “Arguments”, “Evidence”, “Judgment”
Click Save Hearing. The hearing appears on the Hearings tab, on the Calendar, and on Today’s Board if the date is today.
You’re all set. Your first case is live with a hearing tracked. Next: Case list & filters to learn how to manage multiple cases efficiently.