Notices
NyayX lets you track all legal notices associated with a case — notices issued by the court, notices served on parties, and replies received. For Supreme Court matters, notices are pulled automatically from SCI records; for every other court, you enter them yourself.
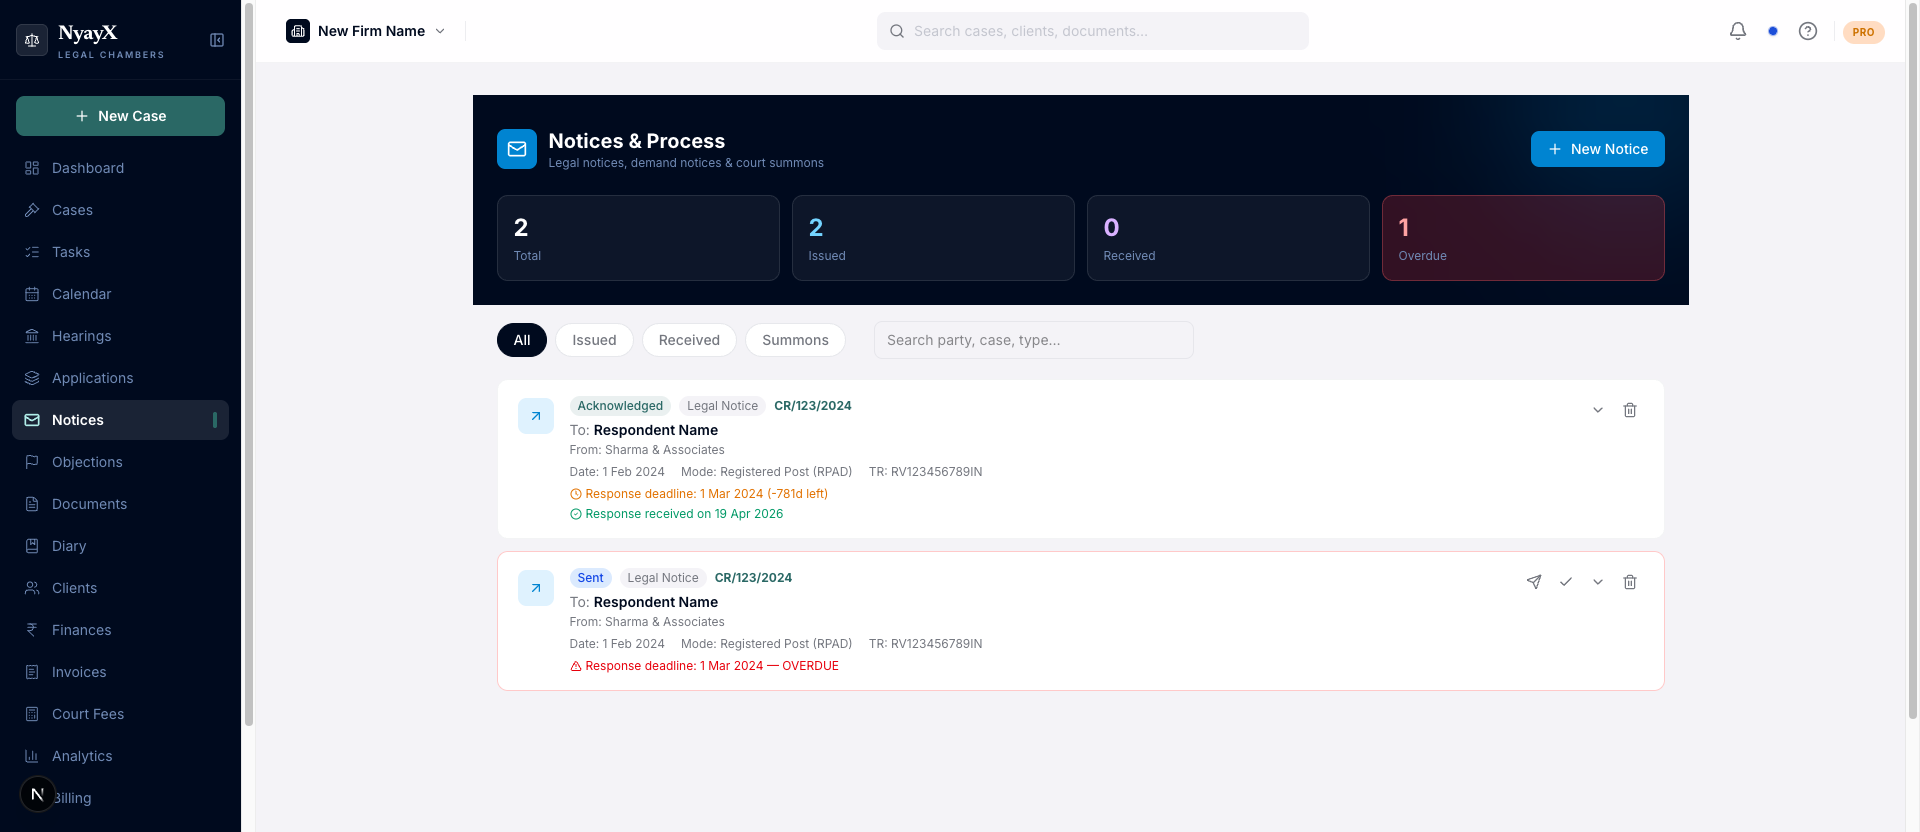
Notices & Process — workspace-level view of all notices across cases
Supreme Court cases — auto-imported
Open a Supreme Court case → Notices tab. Notices issued by the registry appear automatically, grouped by issue date (most recent first). Each notice shows:
- Notice type — service, registered post, etc.
- Dispatch date — when the notice was dispatched
- Returnable date — colour-coded chip: grey for past, amber for due soon, blue for future
- Jurisdiction — state and district where applicable
The top of the tab summarises the totals, e.g. “12 notices across 3 batches”. If no notices have been published yet, you’ll see “No service notices recorded”. No manual entry is needed on Supreme Court cases — updates arrive with the daily SCI sync.
See SCI integration for how the sync works.
Other courts — manual entry
For High Court, District Court, and other matters, add notices by hand:
Open a case → Notices tab in the case detail tab bar.
Click Add Notice. Enter:
- Notice type — Legal notice, Demand notice, 138 notice, Eviction notice, Summons, etc.
- Date — date of issue or receipt
- From — the party sending the notice
- Mode of service — Registered post, Speed post, Courier, Email, Personal, WhatsApp, etc.
- Status — Drafted, Sent, Delivered, Acknowledged, Refused, Returned, No response
- Response deadline — optional; shown as overdue when the date passes without a response
- Notes — brief content summary
Under Recipients, each opposite party (respondent / addressee) gets their own row with their name and their individual RPAD / Speed Post / courier tracking number.
Click + Add More to add another recipient. This is important because in multi-party matters each party is typically served by a separate registered post article, so each party has a different tracking number.
On the saved notice card and in the case’s Notices tab, every recipient is listed alongside their own tracking number for easy reference.
After saving, click the notice row and use Upload to attach the scanned notice PDF. Documents attached here are linked to both the notice record and the case Documents tab.
Viewing notices for a case
Open a case → Notices tab. You’ll see:
- Case Notices — all manually added notices, each with its full recipient list (names + individual tracking numbers).
- SCI Court Notices — auto-synced notices for Supreme Court cases only.
Click Manage → or View → on any notice to open it in the workspace-level Notices module for editing or to add documents.
Workspace-level Notices view
The /notices page shows all notices across every case in your workspace. Use
the tabs to filter by All, Issued, Received, or Summons. You can
also filter by case, notice type, mode, or status.
From this view you can:
- Add new notices linked to any case
- Edit or delete existing notices
- Link an unlinked notice to a case
- Upload attachments